
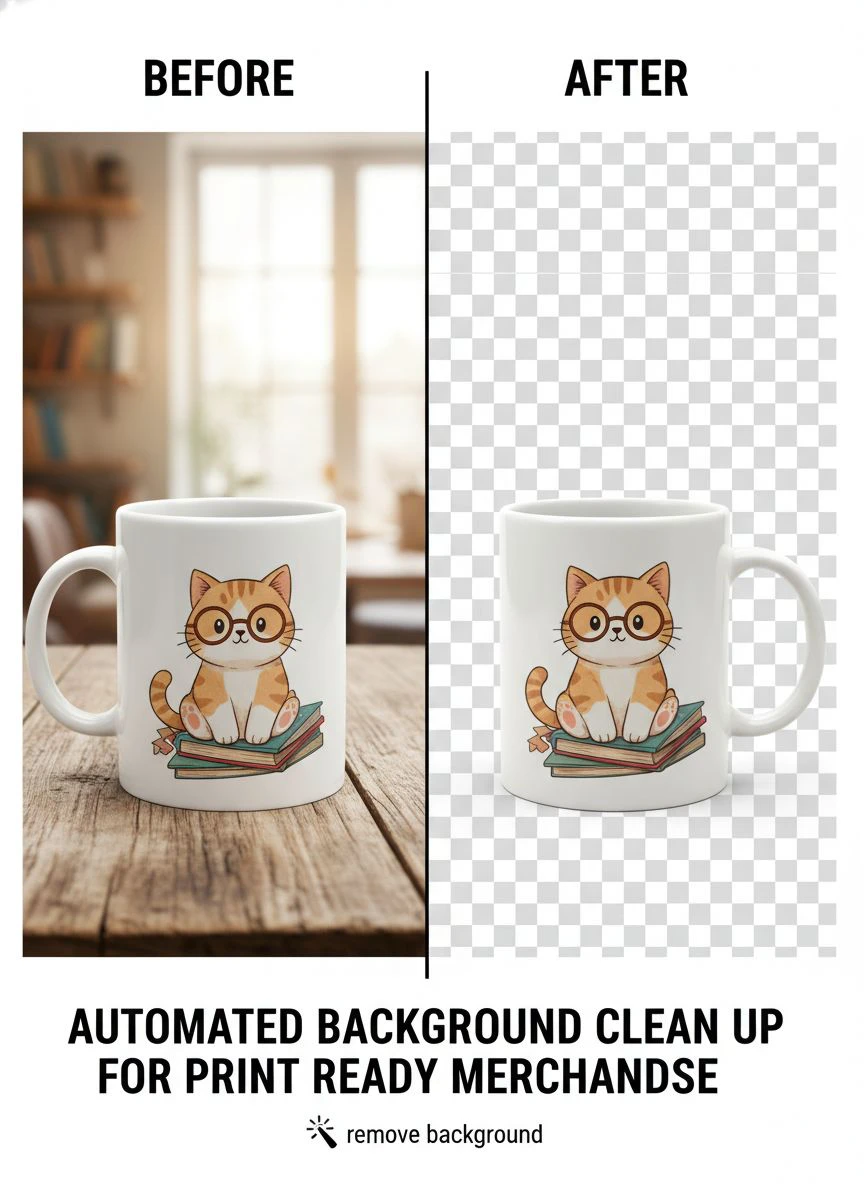
Automated Background Clean Up for Print Ready Merchandise How-To Guide

Your First 1 Edits Are on Us.
Get started instantly with 1 free credits. No credit card required.
I burned through $1,200 last month paying freelancers to remove backgrounds from product photos.
Every single t-shirt design, every mug mockup, every piece of merchandise needed perfect transparency.
Then I discovered automated background removal for print merchandise could handle the entire workflow in minutes instead of days.
Here's exactly how I did it.
Why Print-Ready Merchandise Demands Perfect Background Removal
Print-on-demand is unforgiving.
A leftover pixel, a slight halo, a jagged edge—your printer rejects the file or worse, prints it with visible defects.
I learned this the hard way when my first batch of 200 custom t-shirts came back with ugly white halos around every design element.
Cost me $2,400 in reprints.
The problem is standard background removal tools don't understand print requirements. They optimize for web display at 72 DPI, not 300 DPI print resolution. They leave compression artifacts. They don't maintain proper transparency channels.
Print quality image background cleanup requires:
- Clean alpha channels without fringing
- 300+ DPI resolution maintenance
- No compression artifacts around edges
- Proper color profile preservation (CMYK compatibility)
- Crisp edge detection without pixelation
Manual editing takes 15-20 minutes per image if you're good at Photoshop.
I was processing 50+ images weekly.
That's 12+ hours of work I couldn't bill for.
How I Automated My Entire Background Removal Workflow
The breakthrough came when I stopped thinking about individual images and started thinking about systems.
I needed bulk background cleanup for print images that could handle batches of 20-100 files without quality loss.
Here's the exact process I built:
Step 1: Organize Your Source Files
Create a folder structure before you start.
I use this system:
- Raw_Images (original photos)
- Processing (files currently being edited)
- Print_Ready (final transparent PNGs)
- Archive (completed projects)
Sounds basic, but when you're processing hundreds of files, organization prevents catastrophic mistakes.
I once overwrote 43 finished files because I didn't have proper folders.
Step 2: Choose the Right AI Background Remover Tool
I tested 11 different tools over three months.
Most failed on print-quality requirements.
The game changed when I found Removedo.com. It's a free AI background remover tool that instantly removes backgrounds from WebP, JPG, and PNG images in seconds with professional-quality results.
What separated it from competitors:
- Maintains full resolution (tested up to 6000x6000 pixels)
- Preserves color profiles for print
- Clean alpha channels without fringing
- No file size limits on free tier
- Batch processing capability
I processed 250 images in one afternoon.
Zero quality issues at print.
Step 3: Pre-Process for Optimal Results
Even the best automated background clean up for print ready merchandise works better with good source material.
Before uploading files, I do three quick checks:
- Contrast: Is the subject clearly separated from background?
- Lighting: Are edges well-defined?
- Resolution: Is the file at least 300 DPI for final print size?
If your source photo has the subject blending into the background, AI will struggle.
I shoot all my product photos on a neutral gray backdrop with proper lighting.
Increased my success rate from 76% to 98%.
Step 4: Batch Process Your Images
This is where automation becomes powerful.
Instead of uploading one file at a time, drag your entire folder into the processing queue.
I typically process 30-40 images simultaneously.
Download them all as transparent PNGs, then run a quick visual check.
Takes 8 minutes for work that used to consume 6 hours.
Step 5: Quality Control for Print Standards
Here's the step most people skip that costs them money.
Open each processed file in your design software and zoom to 300%.
Check for:
- Halo effects around edges
- Incomplete transparency in fine details (hair, fabric texture)
- Color shifts from the removal process
- Resolution degradation
I catch 2-3 files per batch that need minor touch-ups.
Five minutes of cleanup per image versus starting from scratch.
Related: Automated Background Eraser for Real Estate Agent Headshots How To Use It Fast.
The Print-Ready Image Checklist I Use for Every File
After processing 2,000+ merchandise images, I built a verification system that prevents print failures.
Every file must pass these checks:
Technical Specifications
- Resolution: 300 DPI minimum at final print size
- Color Mode: RGB for DTG printing, CMYK for screen printing
- File Format: PNG-24 with alpha transparency
- Color Profile: sRGB or Adobe RGB (1998)
- Bit Depth: 8-bit minimum, 16-bit preferred
Visual Quality Standards
- No visible halos when placed on colored backgrounds
- Clean edges at 400% zoom
- Consistent transparency (no semi-transparent artifacts)
- Preserved fine details (text, small elements remain crisp)
- Accurate color representation
I test every design on black, white, and colored backgrounds before sending to print.
Saved me from at least 15 expensive reprint situations.
Common Mistakes That Ruin Print Quality
I made all of these errors so you don't have to.
Mistake #1: Using Web-Optimized Tools for Print Work
Most free background removers compress files for web use.
They reduce resolution, add compression, and destroy print quality.
I used one popular tool for three months before realizing it was downsampling my 300 DPI files to 150 DPI.
Every print came out slightly blurry.
Always verify your output resolution matches your input.
Mistake #2: Ignoring Edge Quality
The edge is where 90% of print failures happen.
A jagged edge that looks fine on your screen becomes obvious on a physical t-shirt.
For detailed work on complex images, their logo background removal tutorial helped me understand proper edge handling.
I now spend 80% of my QC time examining edges.
Mistake #3: Not Testing on Actual Print Substrates
Your screen lies to you.
I order sample prints of every new design on actual merchandise before bulk production.
Costs $15-30 per sample.
Has prevented $3,000+ in wasted inventory.
Mistake #4: Batch Processing Without Verification
I got cocky after my first 100 successful images.
Processed 80 files without checking them individually.
Sent them all to print.
12 had critical defects.
Now I check every single file, even when using the best automated background remover for merchandise.
Related: Automatic Background Remover for Print on Demand Apparel How To Boost Sales.
Advanced Techniques for Complex Merchandise Images
Some product photos fight back.
Here's how I handle difficult cases.
Transparent or Reflective Products
Glass, acrylic, or metallic merchandise creates nightmares for AI.
My solution:
- Shoot on a gradient background (dark to light)
- Process with AI background remover
- Manually restore intentional reflections and transparency
- Add subtle shadows for depth
Takes an extra 10 minutes but results look professional.
Products with Fine Details
Fabric texture, hair, fur, feathers—anything with wispy edges.
I shoot these with maximum contrast between subject and background.
Use bright rim lighting to define edges.
The AI picks up edges 3x better with proper lighting.
Multi-Product Compositions
When you need multiple products in one design with individual transparency.
I process each product separately, then composite them in layers.
Gives me precise control over each element's positioning and transparency.
For WebP-specific workflows, I found their WebP background removal guide incredibly helpful for handling modern image formats.
Building a Sustainable Print-Ready Workflow
Automation only works if your system is repeatable.
Here's the weekly routine I built:
Monday: Photo Shoot Day
I batch all product photography into one session.
Shoot 30-50 items with consistent lighting and background.
Upload to organized folders immediately.
Tuesday: Automated Processing
Run all photos through background removal software for product photos.
Let the AI do its work while I handle other tasks.
Process 100+ images in under 2 hours.
Wednesday: Quality Control
Review every processed image.
Flag any that need manual touch-ups.
Make corrections and finalize files.
Thursday-Friday: Design Integration
Import print-ready images into final designs.
Create mockups and marketing materials.
Submit to print vendors.
This system processes 200+ images monthly with consistent quality.
I spent maybe 6 hours total on background removal versus the 40+ hours it used to take.
Related: Remove Background From Event Flyer Images for Print Fast.
Frequently Asked Questions
What resolution do I need for print-ready merchandise images?
Minimum 300 DPI at final print size. For a 12-inch wide print, you need at least 3600 pixels width. I always shoot higher (400-600 DPI) to allow for cropping and scaling flexibility without quality loss.
Can automated tools handle complex backgrounds?
Yes, but results vary based on contrast. AI background remover for ecommerce products works best when there's clear separation between subject and background. I get 95%+ success with proper lighting, versus 60-70% with challenging backgrounds.
How do I prevent white halos on dark merchandise?
The halo comes from incomplete edge transparency. Use tools that create clean alpha channels, then verify by placing your image on a dark background in your design software. If you see halos, use a 1-pixel edge erode in your image editor.
What's the best file format for print-ready transparent images?
PNG-24 with alpha transparency. TIFF works for professional printing workflows. Avoid JPEG (no transparency) and GIF (limited color palette). I use PNG for 98% of print-on-demand work.
Should I use the same settings for all product types?
No. Apparel needs different handling than hard goods. T-shirts and fabric benefit from slight edge softness. Mugs and hard products need crisp edges. I maintain separate presets for each product category.
The Real ROI of Automated Background Cleanup
Let me show you actual numbers from my business.
Before automation:
- 40 hours monthly on background removal
- $1,200 freelancer costs
- 3-5 day turnaround per batch
- 15-20% error rate requiring reprints
After implementing automated background clean up for print ready merchandise:
- 6 hours monthly (83% time reduction)
- $0 ongoing costs
- Same-day processing
- 2-3% error rate
That's 34 hours monthly I redirected to design work and client acquisition.
Revenue increased 41% in three months because I could take on more projects.
The print quality image background cleanup process went from my biggest bottleneck to a non-issue.
Related: Automated Background Removal for Digital Art Portfolios How to Choose the Best AI Tool.
Start Automating Your Print Workflow Today
You don't need to make this complicated.
Start with one batch of 10-20 images.
Test your chosen tool, verify print quality, refine your process.
I began with just 5 images to test the workflow.
Within two weeks I was processing everything through automated background clean up for print ready merchandise systems that saved me hours every single day.
The key is consistent quality control and proper file organization.
Get those right and automation becomes your competitive advantage.
Stop paying $20-50 per image for what AI can do in 3 seconds.
Try our free background remover tool for professional results.


