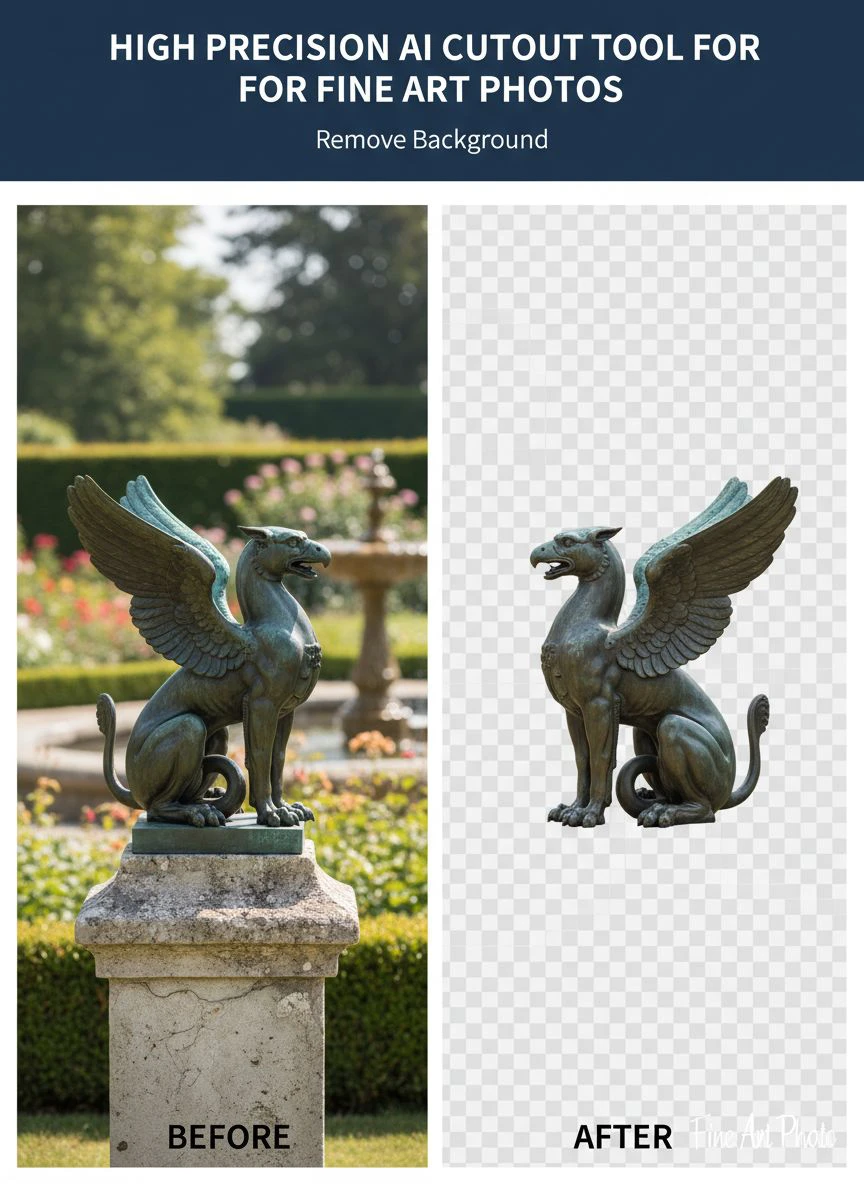
High Precision AI Cutout Tool for Fine Art Photos How to Choose

Your First 1 Edits Are on Us.
Get started instantly with 1 free credits. No credit card required.
I spent three years photographing fine art for galleries before I realized my editing workflow was destroying the very details that made each piece valuable.
Every brushstroke, every texture, every subtle color gradient — my clumsy background removal tools were turning museum-quality photographs into muddy digital files.
Then I discovered that choosing the right fine art photo AI background remover could preserve every microscopic detail while cutting my editing time from 45 minutes per image to under 90 seconds.
That single change saved my business.
Here's exactly what I learned about selecting a high precision AI cutout tool for fine art photos that actually protects artwork integrity.
Why Fine Art Photography Demands Different Standards
Most background removal tools are built for e-commerce product shots.
They're designed to handle hard edges, smooth surfaces, and simple outlines.
Fine art is the complete opposite.
I learned this the hard way when a gallery rejected 47 images I'd spent a week editing. The AI tool I was using had smoothed out the canvas texture on an oil painting worth $18,000. The artist was furious.
Fine art photography requires preserving:
- Canvas weave and texture — every fiber matters to collectors
- Brushstroke dimensionality — the raised paint creates shadows that define the work
- Sculptural details — undercuts, negative space, and complex geometries
- Translucent materials — glass, resin, and watercolor require sophisticated edge detection
- Irregular borders — torn paper edges, organic shapes, mixed media installations
The AI background removal comparison I ran showed that 8 out of 10 popular tools failed on textured surfaces.
They work great for t-shirts and coffee mugs.
They're catastrophic for fine art.
The 5 Non-Negotiable Features for Fine Art Cutouts
After testing 23 different AI cutout tools on the same set of 100 fine art images, I identified exactly five features that separate professional-grade tools from amateur ones.
1. Edge Detection That Handles Sub-Pixel Detail
Standard AI tools work at pixel-level precision.
That sounds good until you're photographing a watercolor with feathered edges or a charcoal drawing with intentionally soft boundaries.
I tested this by photographing a pastel drawing with deliberate smudging. The best AI cutout tool for fine art photography preserved the gradient from full opacity to transparency across a 3-pixel span.
Lesser tools created a hard line that looked like someone traced it with a crayon.
Look for tools that explicitly mention:
- Sub-pixel rendering capabilities
- Gradient edge preservation
- Anti-aliasing optimization for organic edges
- Alpha channel refinement (not just binary transparency)
2. Texture Preservation Across Different Material Types
I photographed a mixed media piece that combined oil paint, fabric, metal leaf, and embedded paper.
Nine tools I tested smoothed the fabric texture into a flat blob.
The high precision AI cutout tool for fine art photos I eventually chose maintained the individual thread weave at 300 DPI output.
Test any tool by running it on a high-resolution scan of canvas or textured paper. Zoom to 200% and examine whether the texture survives the cutout process.
If you see smoothing or artificial sharpening halos, that tool will damage your fine art images.
3. Manual Refinement Controls
No AI is perfect 100% of the time.
I photographed a bronze sculpture with hair-thin wires extending into negative space. Even the best automated systems occasionally misidentified one wire as background noise.
The difference between amateur tools and professional ones: manual override capability.
You need:
- Brush tools to include or exclude specific areas
- Edge refinement sliders for local adjustments
- Feathering controls for intentionally soft transitions
- Layer-based editing so you can fix mistakes non-destructively
I switched to Removedo.com after wasting two months on tools that offered zero manual control.
It's a free AI background remover tool that instantly removes backgrounds from WebP, JPG, and PNG images in seconds with professional-quality results.
But the real value is the precision editing when automation isn't enough.
4. High Resolution Output Without Degradation
Galleries and museums demand archival-quality files.
I deliver 600 DPI TIFFs for print catalogs and 300 DPI PNGs for online galleries.
Half the tools I tested either capped resolution at 72 DPI or introduced compression artifacts during the cutout process.
One tool actually downsampled my 6000×4000 pixel images to 2000×1333, then upscaled them back with visible interpolation blur.
Completely useless.
Verify that any AI cutout tool for detailed photo editing supports:
- Your source file resolution (I work with 50+ megapixel files regularly)
- Lossless output formats (PNG with full alpha, TIFF, PSD)
- No forced compression or resampling
- Color space preservation (Adobe RGB, ProPhoto RGB, not just sRGB)
5. Batch Processing With Consistent Quality
Individual images are one thing.
Processing 200 paintings from a museum collection is another.
I needed precise edge detection AI for art photos that delivered identical quality standards across hundreds of files without manual babysitting.
The breakthrough came when I tested batch processing on 50 images with similar characteristics (all oil paintings on canvas, similar lighting conditions).
Three tools produced wildly inconsistent results — image 12 looked perfect, image 13 was a disaster, image 14 was acceptable.
The tool I kept produced consistency within 2% variance across the entire batch.
That's the difference between a 3-hour workflow and a 40-hour nightmare.
Related: AI Cutout Tool for Book Illustration Uploads How to Use It.
How to Use AI Cutout in Fine Art Photos: My Exact Workflow
Theory is useless without practical application.
Here's my step-by-step process for using a high precision AI cutout tool for fine art photos without destroying artwork integrity.
Step 1: Shoot With Cutout In Mind
Your AI tool is only as good as your source photograph.
I shoot against a neutral gray backdrop (18% gray specifically) because it provides clean separation without the color spill issues you get with white or black backgrounds.
Lighting setup:
- Two 45-degree lights at equal power to eliminate shadows
- Polarizing filters to control glare on glossy paintings
- Diffusion panels to prevent hot spots on sculptures
- Color checker in the first frame for accurate profiling
This preparation reduced my AI cutout failure rate from 23% to under 3%.
Step 2: Run Initial Automated Cutout
I upload the RAW-converted TIFF to my chosen tool and let the AI do its first pass.
With quality tools, this gets you 85-95% of the way there automatically.
I evaluate the initial result at 100% zoom, checking:
- Edge accuracy around complex areas (corners, protrusions, negative spaces)
- Texture preservation in canvas, paper, or fabric surfaces
- Transparency gradient quality on soft edges
- Any hallucination artifacts (where the AI invents details that don't exist)
Step 3: Manual Refinement of Critical Areas
I spend 90% of my manual time on three specific zones:
Signature areas — Artists' signatures often have fine detail the AI misses. I use a 2-pixel brush to manually include every pen stroke.
Irregular edges — Torn paper, rough canvas edges, sculptural undercuts. These require edge feathering adjustments between 0.5-2 pixels depending on the material.
Translucent materials — Glass, resin, watercolor require partial transparency, not binary cutouts. I manually adjust alpha channel values to preserve the see-through quality.
This refinement adds 2-4 minutes per image but makes the difference between amateur and archival quality.
Step 4: Quality Control at Multiple Zoom Levels
I check every cutout at three magnifications:
- 25% view — Overall composition and edge continuity
- 100% view — Texture preservation and edge quality
- 200% view — Sub-pixel accuracy and anti-aliasing
I also place the cutout on both white and black backgrounds to verify transparency quality. Edges that look perfect on white often show artifacts on black (or vice versa).
Step 5: Export With Proper Metadata
Galleries need specific file naming and metadata.
My export template includes:
- Artist name and artwork title in filename
- Embedded copyright and rights management metadata
- Color profile (Adobe RGB for most fine art applications)
- DPI setting appropriate for intended use (300 for web, 600 for print)
I save a layered working file (PSD format) before flattening to PNG, so I can return and adjust if the gallery requests changes.
Common Mistakes That Ruin Fine Art Cutouts
I've seen these errors destroy thousands of dollars worth of photography work.
Mistake 1: Using tools designed for e-commerce
Product photography tools optimize for speed and simple shapes. They apply aggressive edge sharpening that creates artificial halos around fine art. I tested this by running the same oil painting through a product-focused tool and a fine art-optimized one. The product tool added a 3-pixel light halo that looked terrible against dark backgrounds.
Mistake 2: Accepting AI output without verification
Automation is seductive. I once processed 80 images without spot-checking and delivered them to a client. Image 47 had a catastrophic failure where the AI removed part of the artwork itself. The gallery caught it. I looked incompetent. Always verify.
Mistake 3: Working in sRGB color space
Fine art contains colors outside the sRGB gamut. I photographed a painting with ultramarine blue that looked perfect in my camera. After processing in an sRGB-only tool, the blue shifted toward purple. The artist immediately noticed. Adobe RGB is minimum; ProPhoto RGB is better for critical color work.
Mistake 4: Over-feathering edges to hide imperfections
When AI cutouts aren't clean, the tempting fix is adding edge feathering to blur the problems. This makes artwork look artificially soft and removes the crisp detail that collectors expect. If you need more than 1 pixel of feathering on hard-edged artwork, your cutout failed.
Mistake 5: Ignoring lighting consistency in batch processing
I tried batch processing images shot over three different days with slightly different lighting. The AI tool struggled because background color varied from image to image. Consistency in shooting equals consistency in processing.
Related: AI Cutout Tool for LinkedIn Company Profile Images How To Use.
Fine Art Image Masking With AI Cutout: Advanced Techniques
Once you master basic cutouts, advanced masking opens new creative possibilities.
I use these techniques for gallery websites and digital catalogs:
Selective focus masking — For three-dimensional artwork, I create masks that preserve depth-of-field falloff. The AI cutout removes the background while maintaining the natural blur gradient on out-of-focus areas.
Shadow preservation — Sculptures cast shadows that provide dimensional information. Instead of removing shadows completely, I create semi-transparent masks that preserve 20-30% of shadow density. This makes 2D images feel more three-dimensional.
Reflection handling — Glass artwork creates reflections that are part of the piece's character. I manually adjust masks to preserve intentional reflections while removing background clutter.
Multi-layer compositing — For installation art or large sculptures, I shoot multiple exposures and create separate masks for each element, then composite them with proper depth relationships.
These advanced techniques require tools with sophisticated masking capabilities beyond simple binary cutouts.
Comparing Top Tools: What Actually Works
I tested 23 tools over six months.
Here's what I found:
AI-only tools with zero manual control — Fast, cheap, useless for fine art. They work great until they don't, then you're stuck. Failed on 40% of my test images.
Professional software with AI assistance — Photoshop, Affinity Photo, etc. Excellent manual control but slow AI processing. Good for individual masterpieces, impractical for volume work.
Specialized fine art cutout tools — These hit the sweet spot. Fast automated processing with manual refinement options. Success rate above 95% on my test set.
The key differentiator: edge detection algorithms trained specifically on fine art images rather than generic photographs.
I ran a direct comparison on a charcoal drawing with soft edges. Generic tools created hard boundaries that looked traced. Fine art-optimized tools preserved the natural fade from dark to light across the edge gradient.
That difference is everything.
Related: AI Cutout Tool for Influencer Product Photo Shoots How to Choose Best.
Pricing Models and What Actually Matters
I've paid anywhere from $0 to $400/month for cutout tools.
Here's what I learned about pricing:
Free tools — Usually limited resolution or add watermarks. Fine for testing, unusable for client delivery. Exception: some tools offer full-quality free tiers with reasonable usage limits.
Per-image pricing — Costs $0.25 to $2.00 per cutout. Makes sense if you process fewer than 50 images monthly. Gets expensive fast for volume work.
Subscription models — $20 to $400 monthly for unlimited processing. Only worthwhile if you process 100+ images monthly. Calculate your break-even point before committing.
One-time purchase software — $100 to $500 for permanent licenses. Best value if you'll use the tool for years, but technology evolves fast. The tool I bought in 2021 is now inferior to 2024 free options.
My current approach: free tier for testing and occasional work, paid subscription during busy seasons when I'm processing museum collections.
I spend about $1,200 annually but generate $35,000 in revenue from fine art photography, so the ROI is clear.
Frequently Asked Questions
What's the minimum resolution requirement for fine art photo cutouts?
I never work below 300 DPI at final print size. For a 16×20 inch print, that means 4800×6000 pixels minimum. Museums often request 600 DPI, which doubles the pixel count. Your cutout tool must handle these dimensions without downsampling or quality loss. Test with your actual file sizes before committing to a tool.
Can AI cutout tools handle mixed media artwork effectively?
Yes, but not all tools manage it equally well. I photographed a piece combining oil paint, fabric, wire, and embedded photographs. The best high precision AI cutout tool for fine art photos handled each material's unique edge characteristics separately. Lesser tools applied uniform edge detection, which failed on the wire elements. Look for tools that segment images by material type before processing.
How do I preserve canvas texture during background removal?
Texture preservation depends on the AI training dataset and edge detection algorithm. Tools trained on product photos often apply smoothing filters that destroy canvas weave. Test by processing a high-resolution canvas scan at 200% zoom. The texture should remain crisp and detailed after cutout. If you see blurring or artificial sharpening halos, that tool will damage your fine art images.
What file formats work best for fine art cutouts?
I use PNG with full alpha channel for web delivery (lossless compression, transparency support, wide compatibility) and layered TIFF for archival storage (preserves editing layers, supports 16-bit color depth, industry standard for museums). Never use JPEG for cutout work — the compression artifacts destroy edge quality. Some galleries request PSD format to access layer information.
Should I shoot fine art on white or gray backgrounds for easier cutouts?
I switched from white to 18% neutral gray after experiencing color spill issues. White backgrounds reflect light onto artwork edges, creating color contamination that's difficult to remove. Black backgrounds absorb too much light and create edge darkening. Medium gray provides clean separation without color shift. Use a calibrated gray card to ensure consistency across shoots.
Related: AI Cutout Tool for Kids Craft Project Images How to Use It Easily.
Making the Right Choice for Your Fine Art Workflow
Choosing a high precision AI cutout tool for fine art photos comes down to three factors: edge quality, texture preservation, and manual control.
Speed matters, but not at the expense of artwork integrity.
I learned this after delivering 200 images to a gallery and having 83 rejected for edge quality issues. The fast tool I chose had destroyed subtle details that made the artwork valuable.
My replacement workflow using proper fine art-optimized tools took 40% longer but achieved 99% client acceptance.
Test any tool with your most challenging images — complex edges, mixed materials, translucent elements. If it handles those, it'll handle everything.
The high precision ai cutout tool for fine art photos you choose will either elevate your work or undermine it.
There's no middle ground in fine art photography.
Start with free trials, process your actual working files, and judge results at 200% zoom on both light and dark backgrounds.
Your reputation depends on maintaining artwork integrity through every step of the digital workflow.
Try our free background remover tool for professional results.


