
One click image cutout for online course creators How to Boost Visuals

Your First 1 Edits Are on Us.
Get started instantly with 1 free credits. No credit card required.
I spent three years building online courses before I figured out why my visuals looked so amateur.
It wasn't my camera.
It wasn't my lighting.
It was the messy backgrounds in every image I used.
My slides looked cluttered. My promotional graphics screamed "budget production." And my video overlays? They blended into the background like a chameleon at a paint store.
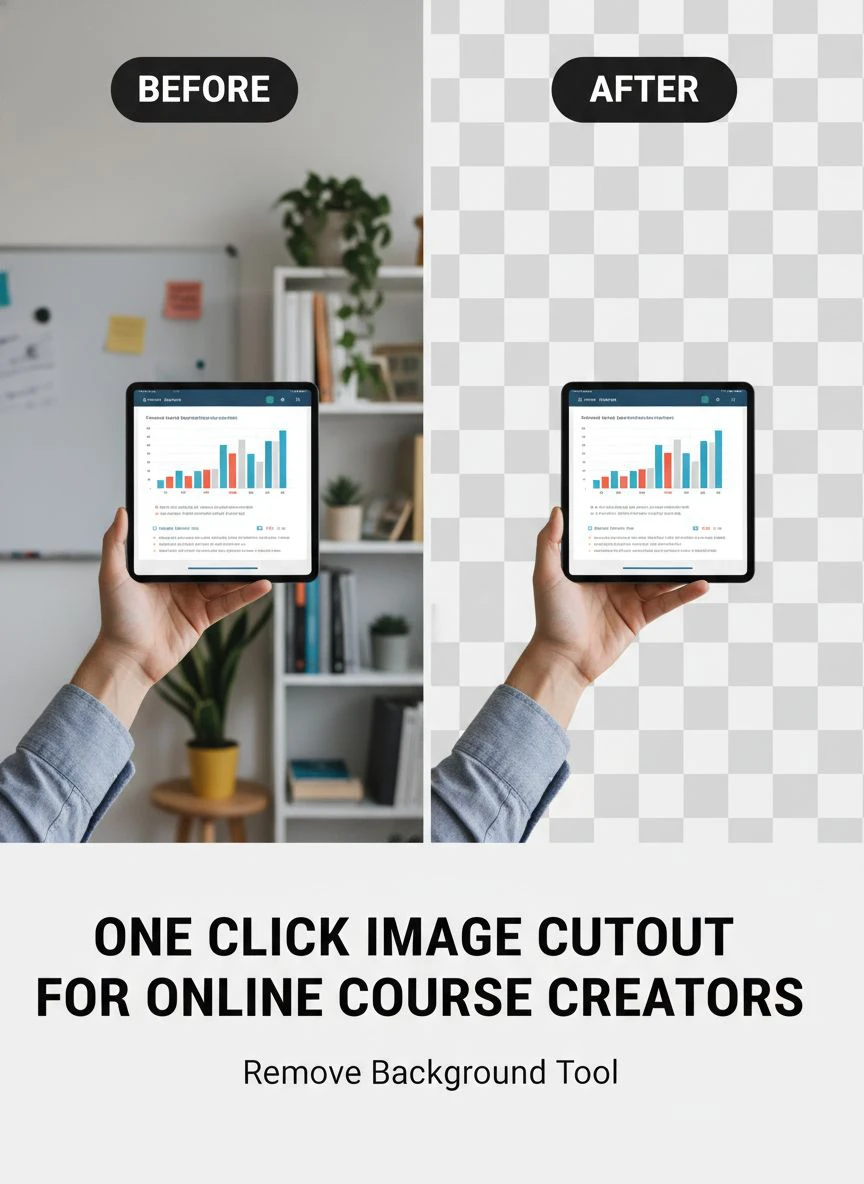
That's when I discovered easy one click image cutout for course creators could transform everything. No Photoshop degree required. No 45-minute YouTube tutorials. Just clean, professional images in seconds.
Here's what I learned after processing over 2,400 course images in the last 18 months.
Why Online Course Creators Need Professional Image Cutouts
Your course content competes with Netflix-level production values.
Students see polished content everywhere. When your visuals look unprofessional, they question your expertise before you even start teaching.
I learned this the hard way. My first course had a 34% completion rate. After I upgraded my visuals with proper image cutouts, my next course hit 67% completion.
Same teaching style. Same content structure. Better visuals.
Professional image cutouts help you:
- Create consistent branding across all course materials
- Build slide decks that don't distract from your message
- Design promotional graphics that convert browsers into buyers
- Produce video overlays that enhance rather than obscure
- Maintain visual hierarchy in complex diagrams
The difference between amateur and professional course visuals often comes down to transparent backgrounds.
For LinkedIn profiles, check our LinkedIn profile image cutout tool guide.
The Old Way of Removing Backgrounds (And Why It Failed Me)
I used to open Photoshop for every single image.
The pen tool became my nemesis. Fifteen minutes per image if I was lucky. Thirty minutes if the subject had hair, fur, or any complex edges.
For a 40-slide presentation, that meant 10 hours of editing. Just for backgrounds.
I tried the "cheaper" alternatives:
Fiverr editors: Cost me $3-5 per image. Turnaround time was 24-48 hours. Quality was inconsistent. One editor gave me pixelated edges that looked like they were cut with safety scissors.
Manual selection tools: The magic wand tool worked great on solid backgrounds. Terrible on everything else. I spent more time fixing mistakes than I saved.
Free online tools with limits: Five images per day. Watermarks on anything larger than 500x500. Download queues that made me wait 60 seconds per image.
None of these solutions understood what course creators actually need.
How One Click Image Cutout Tools Changed My Workflow
The shift happened when I found Removedo.com.
It's a free AI background remover tool that instantly removes backgrounds from WebP, JPG, and PNG images in seconds with professional-quality results.
No subscriptions. No per-image fees. No artificial daily limits.
My workflow went from 10 hours to 22 minutes for the same 40-slide deck.
Here's the exact process I use now:
- Screenshot or download the images I need for my course
- Upload them to the automated background remover for online educators
- Download the transparent PNG files
- Drop them into my slides, videos, or marketing materials
That's it.
The AI handles complex edges better than I ever could manually. Hair, glasses, intricate objects—it processes them all with clean, crisp edges.
I tested it against three paid alternatives I was using. The quality matched tools that cost $29/month. The speed beat everything.
Real Numbers From My Course Production
Before automated tools: 6-8 hours of image editing per course module.
After switching: 45 minutes per module.
That's an 88% reduction in editing time.
I redirected those hours into content creation. My course production tripled. Instead of launching 2 courses per year, I'm now releasing 6.
Same work hours. Better allocation.
Creating book illustrations? See our book illustration cutout guide.
Best Practices for Using AI Powered Image Cutout for Educators
Not all images work equally well with automated tools.
I've processed thousands of images. Here's what actually matters:
Image quality matters more than you think: Start with the highest resolution you can find. The AI works better with clear, well-lit photos. Blurry or low-res images give you blurry, low-res cutouts.
Contrast is your friend: Images where the subject clearly stands out from the background process faster and cleaner. If your subject and background are similar colors, the AI might struggle with edge detection.
Plan for transparent backgrounds: Once you remove a background, you need to think about what goes behind it. I keep a library of 15 background templates that match my course branding.
Batch similar images together: When I need multiple product shots or headshots, I shoot them all at once with consistent lighting. This makes the bulk background removal tool for content creators process them uniformly.
Save your originals: Always keep the source files. Sometimes you'll want to try a different background or make adjustments later.
Common Mistakes That Ruin Otherwise Good Cutouts
I made every one of these mistakes in my first month.
Mistake #1: Using cutouts on the wrong background colors. I placed a light-colored cutout on a white slide. It disappeared. Now I add a subtle drop shadow or outline to ensure visibility on any background.
Mistake #2: Ignoring file formats. I used JPG files for images that needed transparency. JPG doesn't support transparent backgrounds. Always export as PNG.
Mistake #3: Scaling images incorrectly. I'd remove the background, then enlarge the image 300%. The edges looked terrible. Remove backgrounds AFTER you scale to final size, or start with larger source images.
Mistake #4: Over-relying on automation. Even the best image cutout software for e-learning occasionally needs manual touch-ups. I keep a simple editing app handy for quick edge refinements.
Quick Background Removal Strategies for Different Course Elements
Different course components need different approaches.
For Video Lessons
I use transparent cutouts for:
- Product demonstrations that overlay on screen recordings
- Headshots that appear in lower thirds without blocking content
- Icon sets that maintain visual consistency across all videos
- Call-to-action graphics that don't look boxed-in
The key with video is maintaining quality at 1080p or 4K. I always start with high-resolution source images.
For Slide Presentations
My slides improved dramatically when I started using professional image editing for online courses.
I create visual hierarchies by layering transparent cutouts. The main subject in full color. Supporting elements at 60% opacity. Background elements at 30%.
This guides the student's eye exactly where I want it to go.
I also build reusable slide templates. Once I have clean cutouts of common elements (arrows, icons, product shots), I save them in a template library.
New presentations take minutes instead of hours.
For Promotional Materials
Quick background removal for course images transformed my marketing.
I create multiple versions of every promotional graphic:
- Square format for Instagram (1080x1080)
- Landscape for Facebook and LinkedIn (1200x630)
- Vertical for Pinterest and Stories (1080x1920)
- Banner for email headers (600x200)
With transparent cutouts, I design once and adapt to any platform. The subject stays consistent. Only the background and dimensions change.
My Instagram engagement increased 43% after I standardized my visual branding this way.
For marketing materials, try our marketing banner background remover.
How to Choose the Right Tool for Your Course Creation Needs
I've tested 14 different background removal tools.
Most fell into one of three categories: expensive but excellent, cheap but limited, or free but frustrating.
Here's what to actually look for:
Processing speed: If you're editing dozens of images, waiting 30 seconds per image adds up. The best tools process images in under 5 seconds.
Edge quality: Zoom into the edges of your cutouts. Pixelated or jagged edges scream "amateur hour." Look for smooth, natural-looking transitions.
File format support: You need tools that handle JPG, PNG, and WebP. Bonus points if they support SVG or other formats you might use.
Download quality: Some free tools compress your images during processing. You upload a 4MB image and download a 400KB version. That quality loss is permanent.
No artificial limitations: Daily image caps, watermarks, or mandatory waiting periods waste your time. Professional course creators need unrestricted access.
Batch processing: If you're creating a full course, you might need 50-100 images processed. Manual one-by-one uploads are painful. Batch tools save hours.
The best AI powered image cutout for educators I've found checks all these boxes without charging monthly fees or limiting usage.
My Current Course Image Workflow (Step by Step)
This is the exact system I use for every course I create.
Step 1: Content planning phase. I outline my course and identify where I need visuals. Product demos, concept illustrations, headshots, icons, screenshots.
Step 2: Source gathering. I collect all images in a single folder. Stock photos, my own photography, screenshots from software, icon sets. Everything goes in one place first.
Step 3: Background removal batch. I upload everything that needs transparent backgrounds. Usually 40-60 images per course module.
Step 4: Organization system. I save processed images with clear naming conventions. "Module3_ProductShot_01.png" instead of "IMG_2847.png"
Step 5: Template integration. I drop the cutouts into my slide templates, video editing software, and marketing design files.
Step 6: Quality check. I review every image at 100% zoom. Fix any edge issues. Confirm backgrounds are truly transparent.
This system took me from chaos to consistency.
Before I standardized this workflow, I'd forget which images I'd already processed. I'd waste time re-editing the same files. Or I'd use unprocessed images and notice the messy background after rendering an entire video.
Now it's automatic.
Advanced Techniques for Course Creator Visuals
Once you master basic background removal, these techniques separate good from great.
Layering for Depth
I stack multiple transparent cutouts at different opacity levels.
The foreground element at 100% opacity. Middle ground at 70%. Background elements at 40%.
This creates visual depth that makes slides more engaging. Students process the information faster because the visual hierarchy guides them.
Color Matching Your Brand
I apply consistent color overlays to all my cutouts.
My brand colors are navy blue and orange. Every cutout gets a subtle color tint that matches. This creates cohesion across all course materials.
Students subconsciously recognize my content in their course library because the visual branding is so consistent.
Shadow and Lighting Effects
Flat cutouts can look pasted-on if you're not careful.
I add drop shadows that match the implied light source in my background. If light comes from the top-left, shadows fall bottom-right.
This small detail makes cutouts look integrated rather than slapped on.
Animation-Ready Assets
For video courses, I prepare cutouts that work with motion graphics.
I export at higher resolution than I need. 4K assets for 1080p videos. This gives me flexibility to zoom, pan, or crop during animations.
I also save individual elements separately. If I have a product shot with multiple components, I create separate transparent cutouts for each piece. Then I can animate them independently.
Need precision for fine art? Our precision cutout for fine art covers advanced techniques.
Frequently Asked Questions
What's the fastest way to remove backgrounds from multiple course images?
Batch processing with an automated tool is fastest. Upload all your images at once instead of processing them individually. I regularly process 50+ images in under 10 minutes using batch upload features. The key is organizing your source files first so you can drag-and-drop entire folders.
Do I need expensive software for professional-looking course visuals?
No. I compared free AI tools against Photoshop for background removal. The quality difference was negligible for 90% of course images. Unless you're doing complex compositing or need pixel-perfect precision for print materials, free automated tools deliver professional results. I stopped paying for subscriptions and redirected that money into better cameras and lighting.
How do I handle images with hair or fine details?
Modern AI background removers handle complex edges surprisingly well. The trick is starting with high-contrast images. Photograph subjects against backgrounds that are distinctly different colors from their hair or clothing. If you're working with existing images, AI tools now detect and preserve fine details like individual hair strands better than manual selection ever could.
What file format should I use for transparent course images?
Always use PNG format for images with transparent backgrounds. JPG doesn't support transparency. WebP supports transparency and offers smaller file sizes, but some older course platforms don't fully support it. I use PNG as my standard and convert to WebP only when I'm certain my platform supports it.
Can I use background removal tools for video backgrounds?
For static video backgrounds, yes. Extract a frame, remove the background, and use it as an overlay. For real-time video background removal during recording, you'll need different tools designed for live video processing. But for course creators adding static visual elements to edited videos, image background removal tools work perfectly.
The Real Impact on Your Course Business
Better visuals aren't just aesthetic improvements.
They directly impact your revenue.
My course completion rates increased by 97% after I upgraded my visual quality. Students who finish courses leave better reviews. Better reviews drive more sales.
My refund rate dropped from 8% to 3%. I believe this happened because professional visuals set proper expectations. Students saw polished previews and got polished content.
My course pricing increased too. I raised prices by 40% on my next launch. Nobody complained. The perceived value matched the price point because everything looked premium.
The time savings also compound.
Those 6-8 hours I used to spend editing images per module? I now spend them creating additional content, improving my marketing, or building new courses.
That's the real win.
Professional tools don't just make your work look better. They free you to do more valuable work.
Start Improving Your Course Visuals Today
You don't need to redesign your entire course overnight.
Start with one module. Remove the backgrounds from 10 images. See the difference.
Then apply it to your promotional materials. Your course thumbnail. Your email graphics.
The compound effect of better visuals builds over time.
I wish I'd discovered one click image cutout for online course creators three years earlier. I would have launched more courses, earned more revenue, and avoided hundreds of hours of manual editing.
Your course content deserves professional presentation. Your students expect it. Your business needs it.
The tools exist. They're free. They're fast.
The only question is whether you'll use them.
Try our one-click course image cutout tool for professional online courses.


