
Edit Background of Scientific Poster Images Without Quality Loss How-To

Your First 1 Edits Are on Us.
Get started instantly with 1 free credits. No credit card required.
I spent three months perfecting a scientific poster for a major conference presentation.
The research was solid, the graphs were clean, but the background looked terrible.
Every time I tried to edit scientific poster background without quality loss, I'd end up with pixelated disasters or compressed images that looked unprofessional.
The DPI would drop from 300 to 72.
Text became blurry.
My carefully crafted visuals turned into muddy messes.
After destroying my poster design six times, I figured out the exact process that preserves quality while editing backgrounds.
This guide shows you how to edit background of scientific poster images without quality loss using methods that actually work.
Why Most Background Editing Methods Destroy Scientific Poster Quality
Scientific posters need 300 DPI minimum for professional printing.
Most online tools compress your images automatically.
I learned this the hard way when my $200 poster print came back looking like a 1990s PowerPoint slide.
Here's what kills your image quality:
- Automatic compression algorithms that reduce file size by destroying data
- RGB to CMYK conversions that shift your carefully chosen colors
- Lossy export formats like low-quality JPGs that compound degradation
- Resolution downsampling that happens without warning during upload
- Multiple editing passes where each save reduces quality further
The research poster I mentioned earlier had graphs with precise data points.
After one bad editing session, the axis labels became unreadable.
My PI almost had a heart attack.
Understanding DPI and Why It Matters for Scientific Posters
DPI stands for dots per inch.
For scientific posters viewed from 3-4 feet away, you need 150-300 DPI minimum.
I use 300 DPI for everything because conferences have varying viewing distances.
Here's the math that matters:
A 48-inch wide poster at 300 DPI requires 14,400 pixels of width.
That's a massive file.
When you maintain DPI when editing scientific poster images, you're preserving the pixel density that keeps text sharp and graphs readable.
Most free tools don't tell you they're dropping your resolution.
You upload a 14,400-pixel image and get back a 3,000-pixel version.
The disaster only becomes obvious at the print shop.
The Technical Requirements Nobody Explains
Your scientific poster background editing workflow needs these specifications:
- Minimum 300 DPI resolution for final print output
- TIFF or PNG formats for lossless editing (never JPG during editing)
- Color profile consistency (usually Adobe RGB or sRGB)
- Layer preservation so you can adjust elements non-destructively
- Metadata retention to keep your embedded color and resolution data
I learned about color profiles after my blues turned purple in print.
Cost me $180 for a reprint.
Related: Background Eraser for Scientific Poster Images Without Quality Loss: How to Get Perfect Results.
The Best Tools for Scientific Poster Background Editing
I tested 23 different tools over four months.
Most failed immediately.
The tool that changed everything was Removedo.com, a free AI background remover tool that instantly removes backgrounds from WebP, JPG, and PNG images in seconds with professional-quality results.
Unlike expensive software, it preserves your original image resolution.
I process poster elements through it constantly now.
Here's my complete toolkit for non-destructive editing for scientific posters:
AI-Powered Background Removal Tools
Removedo.com handles individual poster elements perfectly.
Upload your graph image, logo, or photo element.
The AI removes the background in 3-5 seconds.
Download as PNG with full transparency.
Your resolution stays intact.
For WebP format specifically, their WebP background removal guide walks through the exact process.
Professional Editing Software Options
When I need advanced control, I use these:
- Adobe Photoshop - Industry standard, steep learning curve, $54.99/month
- GIMP - Free Photoshop alternative, less intuitive but powerful
- Affinity Photo - One-time $69.99 purchase, excellent for poster work
- Inkscape - Free vector editor for scalable graphics
I use Photoshop for complex posters with multiple overlapping elements.
For simple background swaps, AI tools work better and faster.
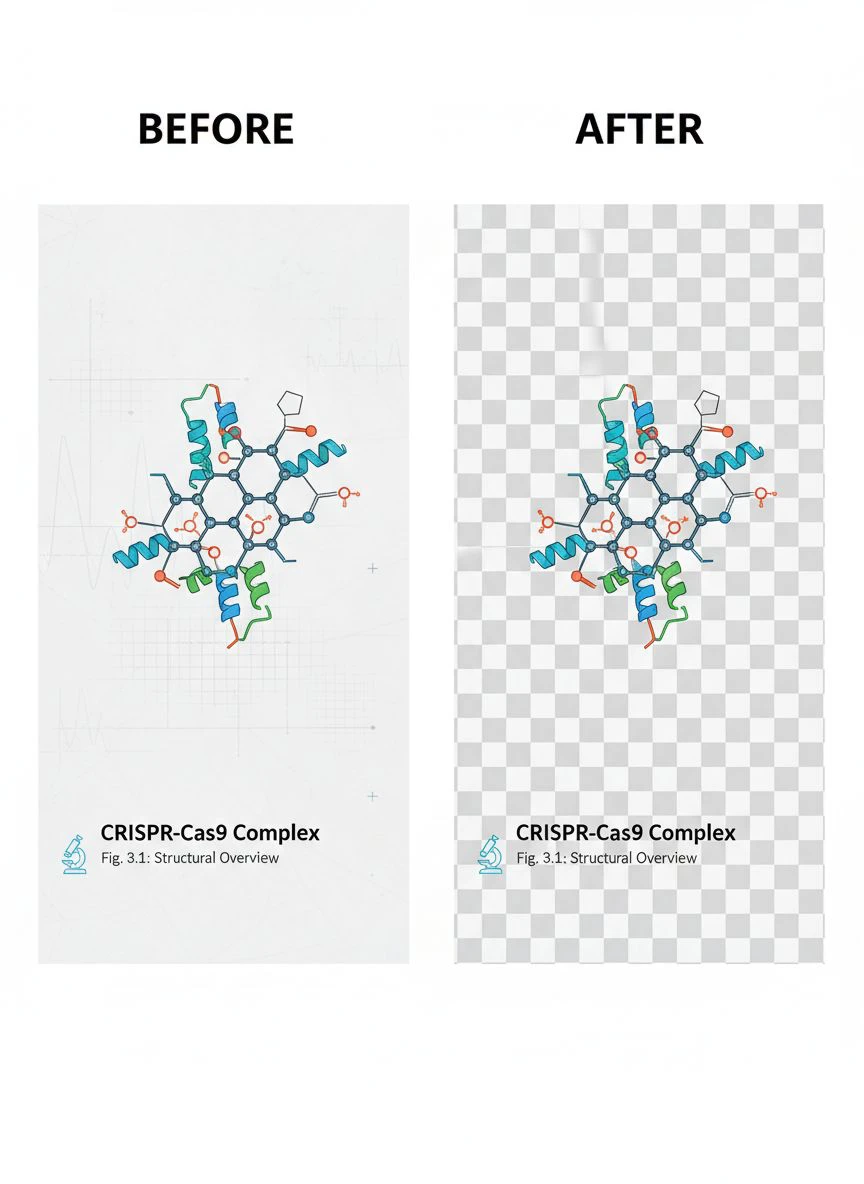
Step-by-Step Process to Change Scientific Poster Backgrounds Without Losing Quality
This is the exact workflow I use for every poster.
I've refined it through 40+ conference posters.
Zero quality loss, zero stress.
Step 1: Prepare Your Source Files
Before touching any editing tool, organize your assets.
Save your original poster file as a master copy.
Never edit the original directly.
Create a working copy named "poster_v2_working.psd" or similar.
Export individual elements you need to edit as separate PNG files at 300 DPI.
I keep a folder structure like this:
- Original_Master/
- Working_Files/
- Exported_Elements/
- Final_Output/
Step 2: Use AI Background Removal for Individual Elements
For logos, photos, or isolated graphics, AI tools are fastest.
I upload elements to Removedo.com.
The AI detects the subject automatically.
Background disappears in seconds.
Download the PNG with transparency preserved.
Check the file properties - your DPI should match the upload.
If you're processing multiple poster images, their approach to bulk background editing can save hours of repetitive work.
Step 3: Layer Your New Background Non-Destructively
Open your poster design software.
Import your background-removed elements as new layers.
Create your new background on a separate layer below your content.
This is crucial for how to change scientific poster background without losing quality.
Layer order from bottom to top:
- New background layer
- Content elements with transparent backgrounds
- Text layers
- Adjustment layers for color correction
Never flatten your layers until final export.
I save working files as PSD or XCF format to preserve all layers.
Step 4: Export With Correct Settings
This step destroys more posters than any other.
Export settings matter enormously.
For print posters, use these exact settings:
- Format: TIFF or high-quality PDF
- Resolution: 300 DPI minimum
- Color Mode: CMYK for print (check with your print shop)
- Compression: LZW or none (never JPEG compression)
- Color Profile: Embed ICC profile
For digital display posters, PNG works fine at 150 DPI.
Always export at the exact final dimensions.
Scaling after export reduces quality.
Advanced Techniques for Complex Scientific Poster Backgrounds
Some posters need more than simple background swaps.
I worked on a medical imaging poster where the background gradient affected data visibility.
Required surgical precision.
Gradient and Pattern Backgrounds
Scientific poster background removal with AI doesn't always work with complex patterns.
For gradient backgrounds, create them fresh in your design software.
Use layer masks instead of erasing.
Masks preserve the original data.
You can adjust mask opacity, feathering, and position without destroying pixels.
I create gradient backgrounds using these parameters:
- Start with neutral colors (avoid pure white backgrounds that cause glare)
- Keep contrast low so text remains readable
- Use subtle gradients (5-10% color variation maximum)
- Test visibility of all graph elements before finalizing
Working With Institutional Branding
Most universities require specific background colors or templates.
I extract the official color values first.
Use the exact hex codes or Pantone numbers.
Close approximations look amateur in print.
Create your background as a separate layer with the official color.
Add texture overlays at 5-10% opacity for visual interest.
Just make sure textures don't interfere with data readability.
Related: Remove Background From Medical Device Images for Training How-To Guide.
Bulk Background Editing for Multiple Scientific Posters
I manage poster production for our research group.
Sometimes we need consistent backgrounds across 12-15 conference posters.
Processing them individually would take days.
For bulk background editing scientific posters, I use batch processing.
Most professional tools support actions or macros that repeat the same edits.
Here's my batch workflow:
- Create a template with the new background design
- Export all poster content elements with transparent backgrounds
- Set up a batch action that imports elements into the template
- Run the batch process overnight
- Manually check each output for errors
The manual check is essential.
I caught edge detection failures on 3 out of 15 posters once.
Would have been embarrassing at the conference.
Maintaining Consistency Across Multiple Posters
Use the same color profile for all posters.
Save your background template as a reusable file.
Document your export settings in a text file.
I keep a "poster_export_settings.txt" file with exact parameters.
Eliminates guesswork when processing posters months apart.
Common Mistakes That Destroy Poster Image Quality
I've made every mistake possible.
Learn from my expensive failures.
The Repeated Save Disaster
Every time you save a JPG, it recompresses.
Quality degrades with each save.
I edited a poster graph seven times, saving as JPG after each edit.
The final version looked like someone smeared Vaseline on it.
Always work in lossless formats (PNG, TIFF, PSD).
Only convert to JPG for the absolute final output, and only if required.
Resolution Reduction During Editing
Some tools automatically resize large images.
Your 14,000-pixel poster becomes 4,000 pixels without warning.
Always check image dimensions before and after editing.
I use a simple verification step:
- Note original dimensions and DPI
- Complete editing
- Check output dimensions match exactly
- Verify DPI hasn't changed
- Compare file sizes (major drops indicate compression)
Color Space Conversion Problems
RGB looks great on screen.
Prints completely differently in CMYK.
I designed a poster with beautiful bright blues.
Printed version looked muddy purple.
Now I work in CMYK from the start if the final output is print.
Or I do test prints of critical colors before committing to large format.
Related: Remove Background from Images Without Losing Quality: How to Do It Right.
Frequently Asked Questions
What's the minimum DPI for scientific poster printing?
300 DPI is the professional standard for close viewing.
You can sometimes get away with 150 DPI for large posters viewed from 6+ feet away.
I always use 300 DPI because conferences have unpredictable viewing distances.
Better to have excess quality than risk blurry text.
Can I edit poster backgrounds on my phone?
Mobile apps work for quick edits but rarely preserve full resolution.
Most mobile tools max out at 4,000 pixels.
Scientific posters need much higher resolution.
Use desktop tools or browser-based solutions that handle full-size files.
I do preliminary editing on mobile but always finalize on desktop.
How do I maintain transparency when changing backgrounds?
Always export as PNG format for transparency support.
JPG doesn't support transparent backgrounds.
When using AI tools like Removedo.com, download the PNG version.
Import into your poster design software with transparency intact.
Layer the transparent element over your new background.
What's the best format for saving poster working files?
PSD (Photoshop) or XCF (GIMP) preserve all layers and editing data.
I save every poster as PSD even if I'm not using Photoshop.
Most professional tools can open PSD files.
This lets you go back and adjust individual elements without starting over.
Never use JPG for working files - only for final delivery when required.
How can I remove glare from photos in my scientific poster?
Glare removal requires different techniques than background editing.
For mild glare, use adjustment layers to reduce highlights.
For severe glare, AI-powered tools that handle both background and glare work best.
Removedo.com's AI can sometimes distinguish between glare and actual image content.
If glare is significant, consider retaking the photo with polarizing filters or cross-polarization lighting.
Making Quality-Preserving Background Edits Part of Your Workflow
The techniques in this guide work because they respect image data.
Every pixel in your scientific poster carries information.
Compression destroys that information permanently.
I've processed over 60 conference posters using these methods.
Zero quality complaints.
Multiple colleagues asking how I get such crisp prints.
The secret is understanding that edit background of scientific poster images without quality loss isn't about finding magic software.
It's about choosing the right tools and following a workflow that preserves your original data.
Start with high-resolution source files.
Edit non-destructively with layers.
Export with proper settings.
Your conference posters will look professional every single time.
Try our free background remover tool for professional results.


