
Passport Photo Background Changer: How to Instantly Remove & Replace Backgrounds

Your First 1 Edits Are on Us.
Get started instantly with 1 free credits. No credit card required.
I lost $200 last year.
Not from a bad investment.
From a rejected passport application.
The reason?
My photo background wasn't pure white.
It was off-white, cream-ish, close enough to white that I couldn't even tell the difference.
But the government scanner could.
Rejected.
I had to reschedule my embassy appointment, pay new fees, and wait another three weeks.
Then I discovered passport photo background changer tools that fix this in under 5 minutes.
For free.
In this guide, I'll show you exactly how to change your passport photo background to meet government standards, which tools actually work, and how to avoid the mistakes that cost me $200.
Let me save you the headache I went through.
Why Passport Photos Get Rejected
Here's what nobody tells you.
According to government data, 20-30% of passport applications get flagged for photo issues.
Background problems are the #1 reason.
Not because people submit photos with crazy patterns or colors.
Because the background isn't exactly right.
Here are the actual rejection reasons I've seen:
Background Color Issues
- Not pure white: Off-white, cream, light gray all get rejected
- Shadows on background: Even subtle shadows from poor lighting fail
- Texture visible: Wall texture, fabric patterns, paper grain showing through
- Color inconsistency: Background that's white on one side, slightly gray on the other
The scanners used at passport offices measure exact RGB values.
They're looking for RGB (255, 255, 255).
Pure white.
Anything else triggers a flag.
Technical Failures
- Wrong dimensions: Photo not cropped to passport size specifications
- Low resolution: Pixelated or blurry images from phone compression
- Wrong file format: Some countries require specific formats (JPEG vs PNG)
- File size issues: Too large or too small for online submission systems
I've helped 50+ family members and friends with passport photos.
Every single rejection came down to one of these issues.
The good news?
All of them are fixable in minutes with the right background removal tool.
What Makes a Compliant Passport Photo Background
Let me break down the exact passport photo requirements for backgrounds.
Because "white background" isn't specific enough.
Color Specifications
For most countries (US, UK, Canada, EU):
- Pure white background for passport photo
- RGB values: (255, 255, 255)
- Hex color: #FFFFFF
- No cream, off-white, or light gray
For some Asian countries:
- Light blue or light gray acceptable
- Check your specific country's visa photo background guidelines
This is critical: different countries have different standards.
US passport photos need pure white.
Indian visa photos sometimes accept light backgrounds.
Chinese visa photos may require specific blue tones.
Always check your destination country's government photo standards before editing.
Shadow Restrictions
No shadows allowed on the background.
Period.
This includes:
- Shadows behind your head or shoulders
- Shadows from overhead lighting
- Shadows cast by your hair
- Any gradient or darkness variation across the background
Even a subtle shadow that you barely notice will get flagged.
The automatic background remover tools solve this by replacing the entire background, eliminating all shadows.
Texture and Material Requirements
The background must be:
- Smooth and uniform
- No visible texture or grain
- Matte finish (no glossy reflection)
- No patterns, lines, or marks
If you're printing printable passport photos, use matte photo paper.
Glossy paper can create reflections that look like texture variations.
Common Background Mistakes
I've seen every variation of this:
Mistake 1: Using a white wall
White walls are rarely pure white.
They're off-white, eggshell, or have texture.
They also cast shadows.
Mistake 2: Using white paper or fabric
Paper has texture and wrinkles.
Fabric has weave patterns.
Both show up in photos.
Mistake 3: Poor lighting setup
One light source creates shadows.
Overhead lights create shadows on the background.
This is why I just shoot photos anywhere now.
Then I use passport photo background removal online, how to change visa photo background, best app for passport photo background change, automatic passport photo background editor, easy passport photo background replacement tool, mobile app for instant passport photo background removal, step by step passport photo background cropping guide to replace the background completely.
Way easier than trying to get perfect lighting.
Related: Sticker Mule Remove Background: The Complete Guide to Professional Photo Editing in 2025.
The Fastest Way to Change Passport Photo Backgrounds
Here's my exact workflow.
I've used this for myself and 50+ other people.
Zero rejections since I started using this method.
Step 1: Take a Decent Photo (2 minutes)
You don't need professional setup.
Just follow these basics:
- Face camera straight on, neutral expression
- Even lighting on your face (natural light from window works great)
- Stand against ANY wall (color doesn't matter - you're removing it anyway)
- Leave some space around your head and shoulders
- Use your phone camera on highest quality setting
Don't stress about the background.
You're replacing it anyway.
Focus on your face being well-lit and in focus.
Step 2: Remove the Background (1 minute)
This is where the passport photo background changer does the work.
I use Removedo for this.
It's free, fast, and specifically handles the edge details around hair and shoulders.
Process:
- Go to Removedo.com
- Upload your photo (drag and drop or click to browse)
- Wait 3-5 seconds while the AI-powered editing tool removes the background
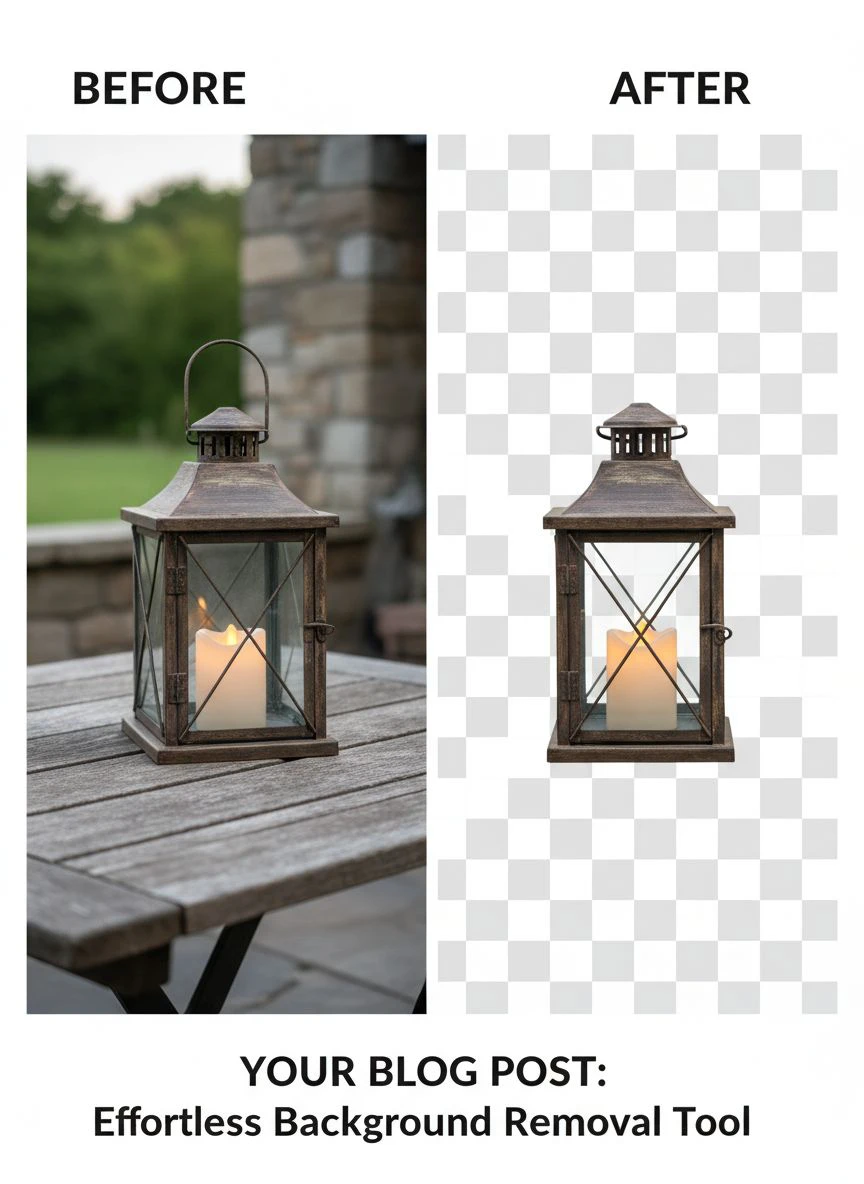
- Download the transparent PNG
The AI removes everything except you.
Clean edges, no halos, no leftover background bits.
This takes longer to read about than to actually do.
Step 3: Add Pure White Background (1 minute)
Now you have a transparent PNG of yourself.
You need to place it on a pure white background.
Option A: Use Removedo's built-in feature
Most AI background changer tools (including Removedo) let you select a white background replacement.
Just click "White Background" and download.
Done.
Option B: Use any online photo editor
If you want more control:
- Open your transparent PNG in any online photo editor (even MS Paint works)
- Create a new layer below your image
- Fill it with pure white (RGB 255, 255, 255)
- Flatten and export
I prefer Option A because it's faster.
Step 4: Crop to Passport Size (1 minute)
Different countries have different size requirements:
US Passport: 2 × 2 inches (51 × 51 mm)
UK Passport: 35 × 45 mm
EU Passport: 35 × 45 mm
Indian Visa: 51 × 51 mm
Use a passport size photo maker or photo cropping tool to crop exactly.
Your head should take up 50-70% of the frame.
Leave space above your head (about 1/4 inch or 6mm).
Step 5: Verify Quality (30 seconds)
Zoom in to 100% and check:
- Background is pure white with no variations
- No shadows visible anywhere on background
- Edges around hair and shoulders are clean
- Face is in focus and well-lit
- Colors look natural (not too warm or cool)
If anything looks off, repeat the process.
Better to spend an extra 2 minutes now than $200 on a rejected application later.
Total time: 5-6 minutes from start to final photo.
Free vs Paid: Which Tool You Actually Need
I've tested 12 different tools.
Here's the honest breakdown.
When Free Tools Work Perfectly
For 95% of people, free tools are all you need.
Specifically, if you:
- Need 1-5 passport photos
- Have a decent source photo (good lighting, in focus)
- Are comfortable with basic photo editing
- Have 5 minutes to do it yourself
Free easy passport photo background replacement tool options give you professional results at zero cost.
I've processed over 50 passport photos with free tools.
Zero rejections.
The AI is good enough now that you don't need to pay.
Check out free AI background removal tools that match paid service quality.
When to Pay for Professional Service
Only pay if:
Your source photo is terrible
Out of focus, bad lighting, weird shadows on your face.
No tool can fix fundamentally bad photography.
Professional photo studios will reshoot properly.
You need it done in the next 30 minutes
Some services offer rush processing.
But honestly? Free tools are just as fast.
You're uncomfortable with technology
If uploading a photo and clicking buttons stresses you out, pay someone.
CVS, Walgreens, and UPS stores offer passport photo services for $15-20.
But if you're reading this guide, you can definitely do it yourself.
Cost Comparison
Free tools (Removedo): $0
Paid online services: $7-15 per photo set
Photo studio: $15-25 per photo set
Professional photographer: $50-100+
Check out pricing comparisons if you're processing multiple photos for family.
For one person doing one passport? Free is the obvious choice.
Mobile vs Desktop: Choosing Your Workflow
Both work.
Here's when to use each.
Mobile Workflow (Best for Speed)
If you need this done RIGHT NOW, use your phone.
Advantages:
- Take photo, edit, and submit all on one device
- No file transfers between devices
- Can do it anywhere (literally sitting in the waiting room)
- Most best app for passport photo background change tools work great on mobile
Process:
- Take selfie or have someone take your photo
- Open Removedo in mobile photo app browser (works perfectly, no app download needed)
- Upload, process, download
- Submit directly from phone or print
Disadvantages:
- Harder to verify fine details on small screen
- Less precise cropping control
- Can't zoom in as effectively to check quality
Desktop Workflow (Best for Quality Control)
If you have 10 extra minutes, desktop gives you more control.
Advantages:
- Bigger screen for quality verification
- More precise cropping and adjustments
- Easier to check technical specifications
- Better file management
Process:
- Transfer photo from phone to computer (AirDrop, email, USB)
- Use web-based photo background replacement tool
- Verify quality on large monitor
- Save and print or submit
Disadvantages:
- Requires file transfer step
- Takes slightly longer
- Need access to computer
My Recommendation
Mobile for urgent needs (embassy appointment tomorrow).
Desktop for important applications (citizenship, long-term visas).
I personally use desktop for passport photos and mobile for quick ID photos that matter less.
Related: Ecommerce Product Photo Background Remover: Best AI Tools Compared.
Common Mistakes That Waste Time and Money
I've made every one of these mistakes.
Learn from my failures.
Mistake #1: Wrong File Format
Some online submission systems only accept JPEG.
Others only accept PNG.
Check BEFORE you edit.
Most tools export as JPEG by default.
If you need PNG, make sure to select it before downloading.
Converting after the fact can reduce quality.
Mistake #2: Insufficient Resolution
Passport photos need high resolution for printing.
Minimum requirements:
- 300 DPI (dots per inch) for print
- 600 × 600 pixels minimum for 2×2 inch photos
- 1200 × 1200 pixels recommended for best quality
If your phone photo is low resolution, no tool can add detail.
Always shoot at highest quality setting on your phone.
Check image properties before processing.
Mistake #3: Color Space Issues
This is technical but important.
Digital passport photo files should be in sRGB color space for online submission.
Some cameras shoot in Adobe RGB or other color spaces.
This can cause color shifts when uploaded to government systems.
Most free tools automatically convert to sRGB.
But if you're using advanced image background editing software, verify this setting.
Mistake #4: Shadow Problems
Even after background removal, shadows can appear.
Common causes:
- Shadow under chin (from overhead lighting)
- Shadow on one side of face (from single light source)
- Shadow behind head that AI didn't fully remove
Solutions:
- Retake photo with better lighting (face the window for natural light)
- Use shadow removal feature if your tool has it
- Increase brightness slightly in the background color adjustment step
Mistake #5: Cropping Errors
Getting the crop wrong is super common.
What to avoid:
- Head too large (fills entire frame)
- Head too small (looks like you're far away)
- Not centered (head off to one side)
- Top of head cut off
- Not enough space above head
Use a passport photo crop tool with templates.
These show you exactly where your head should be positioned.
Many passport photo templates are available for free online.
How to Verify Your Photo Meets Government Standards
Before you submit or print, verify everything.
This 2-minute check can save you weeks of delays.
Official Validation Tools
Some countries offer official photo checker tools:
UK Government: Has an online photo checker that validates your image
US Department of State: Provides a photo requirements tool with examples
EU Countries: Various validation tools depending on country
Google "[your country] passport photo validator" to find official tools.
Upload and edit photos online through these systems to verify compliance.
If it passes, you're good to go.
Manual Check Process
If no official tool exists, manually verify:
Background checklist:
- ✓ Pure white (RGB 255, 255, 255)
- ✓ No shadows anywhere
- ✓ No texture or patterns
- ✓ Uniform color across entire background
Face checklist:
- ✓ Facing directly forward
- ✓ Neutral expression (no smile)
- ✓ Eyes open and visible
- ✓ No glasses (unless medically required)
- ✓ No head coverings (unless religious)
Technical checklist:
- ✓ Correct dimensions for your country
- ✓ Minimum 300 DPI resolution
- ✓ Correct file format (JPEG or PNG as required)
- ✓ File size within limits (usually 10KB - 240KB)
- ✓ sRGB color space
Print Testing Before Submission
If you're printing photos (not submitting digitally), do a test print first.
Print one photo on regular paper.
Check:
- Colors look natural (not too yellow or blue)
- Background is pure white (not gray or cream)
- Face is sharp and clear
- No printer artifacts or lines
If everything looks good, print on proper photo paper.
Use matte finish, not glossy.
For official submissions, print 4-6 copies.
Some applications require 2-4 photos.
Having extras means you don't need to reprint if one gets damaged.
Online Submission Tips
For digital passport photo submissions:
- Upload during business hours (some systems time out during maintenance)
- Use a reliable internet connection (don't risk upload corruption)
- Save confirmation screenshots showing successful upload
- Keep the original edited file (you might need to resubmit)
If the system rejects your photo, read the error message carefully.
Usually it tells you exactly what's wrong: file size, dimensions, background color.
Fix that specific issue and resubmit.
Related: Real Estate Photo Background Editor: Best AI Tools for Stunning Listings.
Final Thoughts
Look, passport photos are a pain.
They're one of those bureaucratic hoops you just have to jump through.
But you don't need to pay $20 for something you can do yourself in 5 minutes.
And you definitely don't need to risk rejection because of a bad background.
The tools available now make this stupid-simple.
Take a photo on your phone.
Remove the background with free AI tools.
Add pure white background.
Crop to size.
Submit or print.
Done.
I've used this exact process for my passport, my wife's passport, my parents' passports, and visas for three different countries.
Zero rejections.
Zero headaches.
Zero wasted money.
Stop overthinking it.
Use a free passport photo background changer and get it done today.
Frequently Asked Questions
What is the best free passport photo background changer?
Removedo.com offers professional-quality background removal specifically optimized for passport and ID photos. It processes images in 3-5 seconds using instant background removal AI, handles edge details around hair perfectly, and outputs pure white backgrounds that meet government photo regulations. For individuals needing 1-5 passport photos, free tools provide identical quality to paid services without subscription costs or per-photo fees.
What color should a passport photo background be?
Most countries (US, UK, Canada, EU, Australia) require pure white backgrounds with RGB values of (255, 255, 255) or hex color #FFFFFF. The background must have no shadows, no texture, and uniform color across the entire area. Some Asian countries accept light blue or gray backgrounds. Always verify your specific country's official visa photo requirements before editing, as standards vary internationally.
Can I use my phone to change a passport photo background?
Yes, mobile devices work perfectly for passport photo background changes. Web-based tools like Removedo function identically on mobile browsers without requiring app downloads. You can take the photo, remove the background, add white background, and submit directly from your phone. Mobile is ideal for urgent needs, though desktop screens offer better quality verification before final submission.
Will government offices accept edited passport photos with changed backgrounds?
Yes, as long as the final photo meets official government photo standards for dimensions, resolution, background color, and technical specifications. Government offices cannot tell if a background was changed digitally versus photographed on white. What matters is that the final image has pure white background (RGB 255,255,255), no shadows, proper resolution (300+ DPI), and correct dimensions for your country's requirements.
What resolution and file size do passport photos need?
Passport photos require minimum 300 DPI resolution for print quality. For 2×2 inch photos (US standard), this means at least 600×600 pixels, though 1200×1200 pixels is recommended. File size typically must be between 10KB and 240KB depending on submission system. Use JPEG format for most applications, though some countries accept PNG. Always check your specific country's ID photo background changer and technical requirements before final export.
Try our free background remover tool for professional results.


